Are you tired of constantly running to the salon for waxing appointments? It’s time to take matters into your own hands and learn how to make DIY wax strips at home! Not only is it convenient, but it can also save you money in the long run. Get ready to say goodbye to unwanted hair from the comfort of your own bathroom with this simple and effective method.
Benefits of Making Your Own Wax Strips
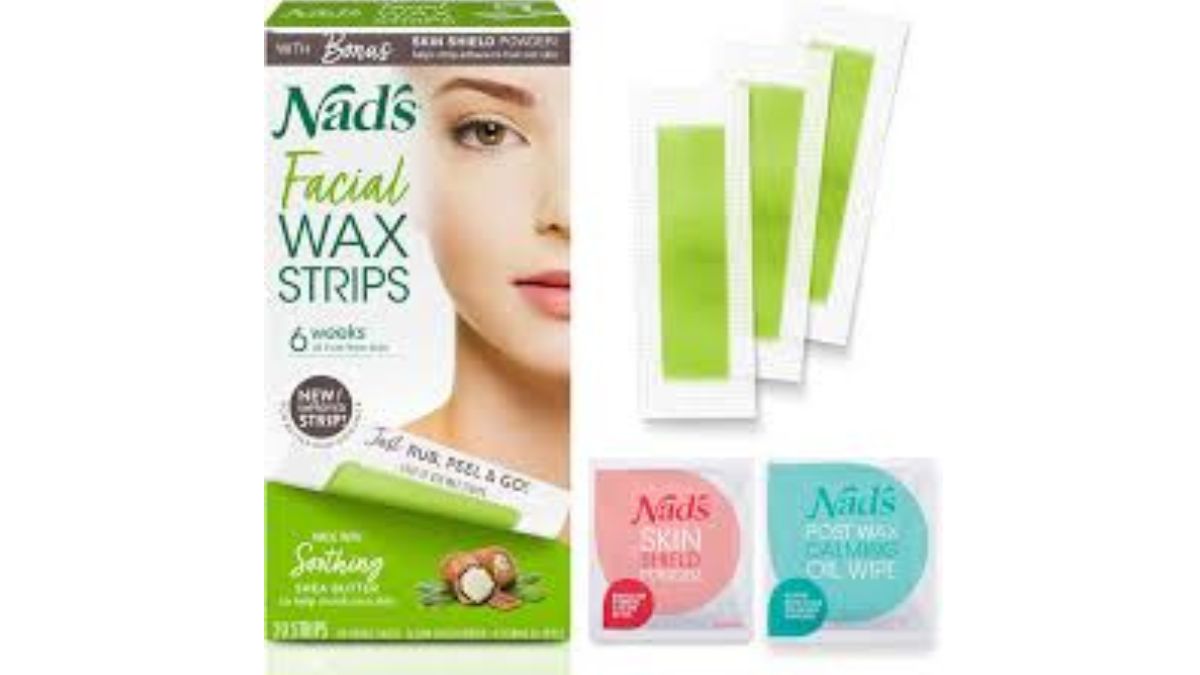
When it comes to hair removal, making your own wax strips at home can offer a multitude of benefits. DIY wax strips are cost-effective compared to purchasing pre-made ones from the store. By using simple ingredients that you likely already have in your pantry, you can save money while achieving smooth skin.
Another advantage is customization. You have control over the ingredients used in the wax strips, allowing you to cater to your specific skin type and preferences. This means you can avoid harsh chemicals and opt for natural solutions that are gentler on the skin.
Furthermore, creating your own wax strips gives you the flexibility to experiment with different formulas until you find one that works best for you. Whether it’s adding essential oils for fragrance or adjusting the thickness of the wax mixture, DIY allows for personalization according to your needs and desires.
Materials and Tools Needed
When it comes to making your own DIY wax strips at home, having the right materials and tools is essential for a successful waxing session. Here’s what you’ll need:
Gather some cotton fabric or muslin cloth that can be cut into strips of various sizes to suit different areas of the body. This will serve as the base for your wax strips.
Next, make sure you have a high-quality natural wax like beeswax or sugar wax, along with a saucepan and stove to melt it down gently.
Additionally, get hold of a spatula for stirring and applying the melted wax onto the fabric strips evenly.
Don’t forget about some baby powder or cornstarch to prep your skin before waxing and soothe it afterwards. These simple materials and tools will help you achieve smooth and hair-free results in the comfort of your own home!
Step-by-Step Guide on Making DIY Wax Strips
To start making your own DIY wax strips at home, you will need a few key ingredients and tools. Begin by gathering white sugar, honey, and lemon juice in a microwave-safe bowl. Mix the ingredients well before heating them in the microwave for about 2 minutes until the mixture turns golden brown.
Once heated, let the mixture cool slightly to avoid burning yourself during application. While waiting for it to cool down, cut thin strips of cotton fabric or muslin cloth that will serve as your wax strips. Dip these strips into the warm wax mixture and ensure they are fully coated.
After coating the strips with wax, gently press them onto the desired area of hair removal and smooth them out in the direction of hair growth. Quickly pull off the strip against the direction of hair growth while holding your skin taut for minimal discomfort.
Dispose of used wax strips properly and repeat steps as needed until you achieve smooth and hair-free skin. Remember to moisturize post-waxing to soothe any irritation caused by removing unwanted hair with your homemade DIY wax strips!
Tips for Using DIY Wax Strips Effectively
To ensure successful hair removal with DIY wax strips, it’s essential to follow some tips for a smooth experience. Make sure your skin is clean and dry before applying the wax strip. This helps the strip adhere better to the hairs for effective removal.
When placing the strip on your skin, press down firmly in the direction of hair growth to ensure proper adhesion. Then, pull off the strip quickly against the direction of hair growth for best results. Remember, swift and confident movements are key to minimizing discomfort.
After removing the strip, apply pressure to soothe any temporary discomfort or redness. You can use aloe vera gel or a cooling lotion to calm your skin post-waxing. Avoid using wax strips on broken or irritated skin to prevent further irritation.
Don’t forget to moisturize your skin afterward to keep it hydrated and prevent ingrown hairs. Following these tips will help you achieve salon-worthy results at home with DIY wax strips!
Alternative Ingredients for Sensitive Skin
If you have sensitive skin, opting for alternative ingredients when making DIY wax strips can help prevent irritation and redness. Consider using aloe vera gel in your wax mixture to soothe the skin and reduce inflammation. Another gentle option is coconut oil, known for its moisturizing properties which can protect the skin barrier during waxing.
For those with extremely sensitive skin, try adding a few drops of chamomile essential oil to the wax mixture. Chamomile has calming effects that may help alleviate any discomfort during the hair removal process. Alternatively, incorporating honey into your DIY wax strips can provide antibacterial benefits while also being gentle on sensitive skin.
Experimenting with different natural ingredients tailored to your skin’s needs can make a significant difference in how your skin reacts to at-home waxing sessions.
Conclusion
Making your own DIY wax strips at home is a cost-effective and convenient way to achieve smooth and hair-free skin. By using simple ingredients and following the step-by-step guide, you can customize the wax strips to suit your skin type and preferences. Not only does it save you money, but it also allows you to have full control over what goes on your skin. So why not give it a try and experience the benefits of DIY waxing for yourself? Happy waxing!


